The Raspberry Pi is a small computer that has become very popular. Lots of applications and hardware hacks have been made for it. You can run various software like web/file/printservers, read out sensors, the possibilities are endless.
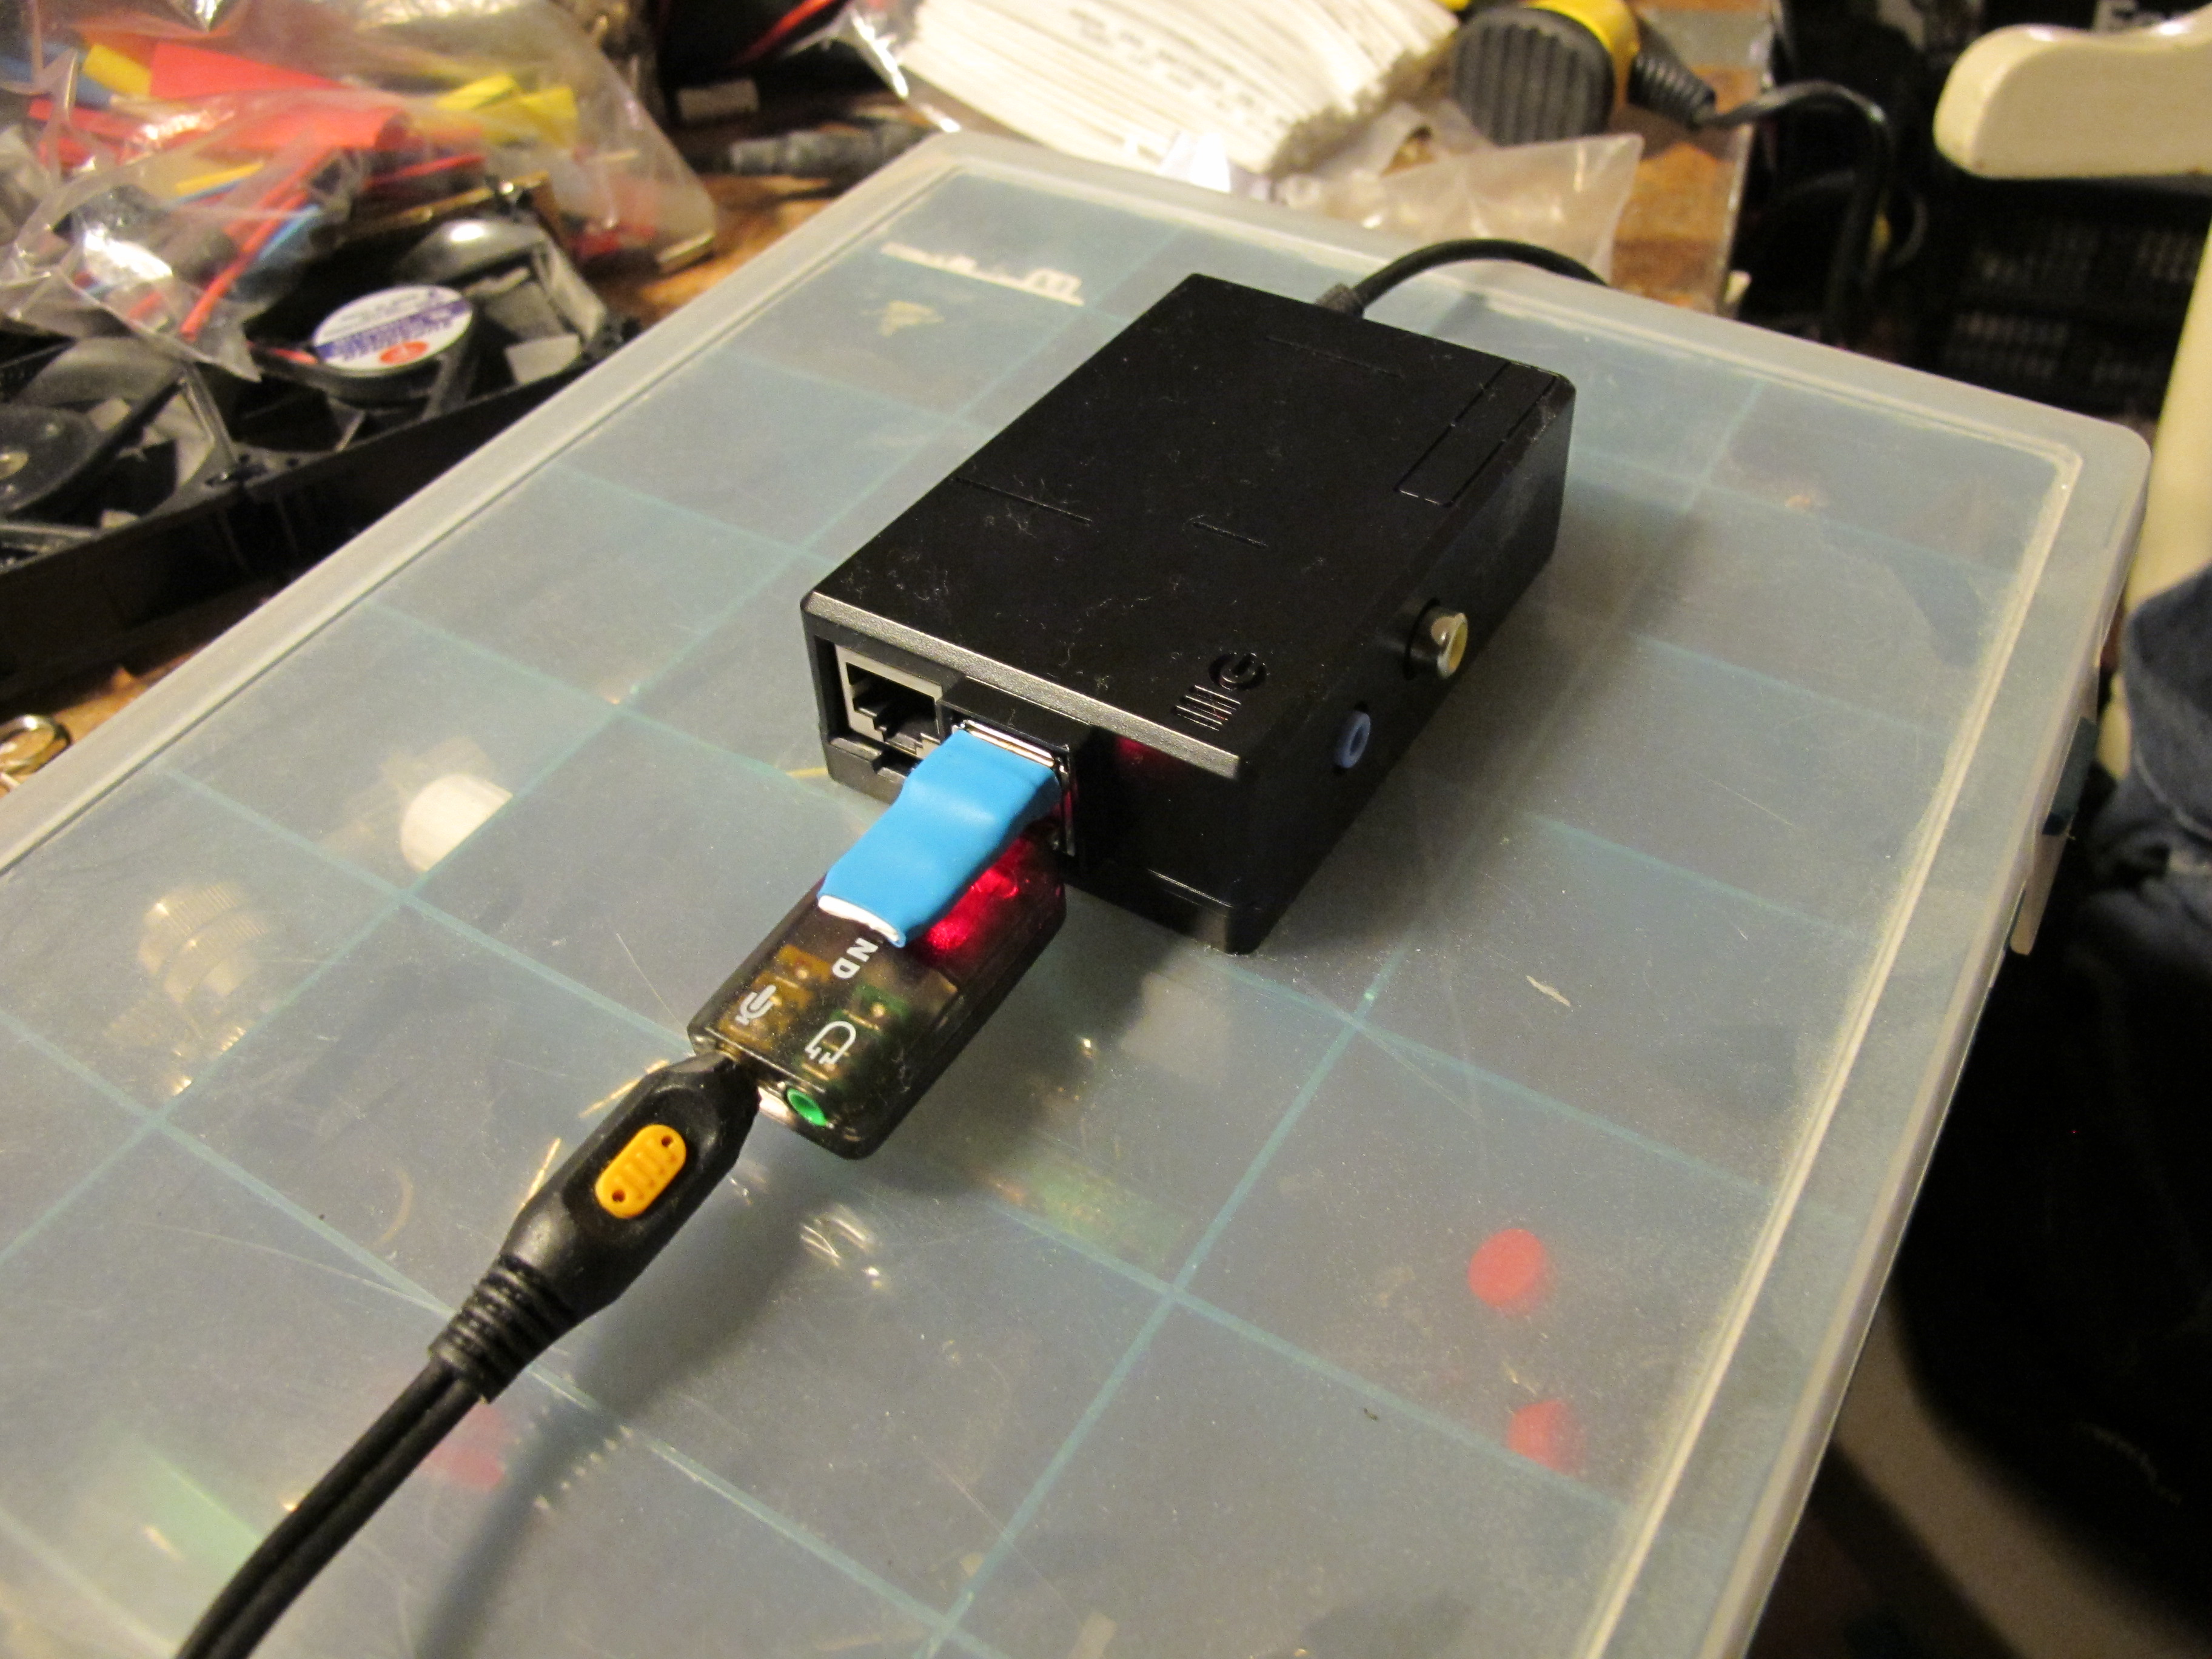
I own multiple Raspberry Pi’s, one is a test platform for sensors, and a new one pictured above will be dedicated to audio streaming. I use the software packages darkice and icecast2 to capture the audio from an USB audio card and make it available on the internet.
To stream audio with the RPi you’ll need the following hardware and software:
Hardware:
- Raspberry Pi, model does not matter as long as there is a free USB port and network connectivity
- USB soundcard (cheap C-Media “3D Sound” usb sticks available on eBay, Dx.com work well)
- audio cable with at least one 3.5 mm TRS jack (other side depends on connector on receiver, usually also TRS)
Software:
- darkice, preferably compiled with mp3 support. This is a bit messy to to, instructions can be found here.
- icecast2, can be run on the RPi itself or on an external server (this is recommended if the stream is public)
To make everything work, first connect all the hardware. Make sure that the audiocard is detected properly, it should show up in the kernel messages and aplay device list:
pi@raspberrypi ~ $ dmesg | grep snd
[    6.958063] usbcore: registered new interface driver snd-usb-audio

pi@raspberrypi ~ $ arecord -l
**** List of CAPTURE Hardware Devices ****
card 1: Device [USB PnP Sound Device], device 0: USB Audio [USB Audio]
  Subdevices: 0/1
  Subdevice #0: subdevice #0
Connect the audio source. You can use alsamixer to monitor the microphone or line input and check that the audio is ok.
Make sure darkice and optionally icecast2 are installed. Darkice gets it default configuration from /etc/darkice.cfg. This is my configuration:
[general]
duration        = 0
bufferSecs      = 10
reconnect       = yes

[input]
device          = hw:1,0
sampleRate      = 44100
bitsPerSample   = 16
channel         = 1

[icecast2-0]
bitrateMode     = cbr
format          = mp3
bitrate         = 32
server          = dynode.nl
port            = 8000
password        = password
mountPoint      = test
name            = test
description     = test
url             = https://www.dynode.nl
genre           = my own
public          = yes
lowpass         = 4000
The following lines are important when streaming output of receivers:
device = hw:1,0
This setting specifies the hardware being used for the stream. Since the built in audio out of the RPi is hw:0,0 the configuration points to the next sound card.
sampleRate = 44100
The sample rate only works correctly with 44.1 KHz, when using lower sample rates it results in slow, low pitched sound.
lowpass = 4000
Since I use a low bitrate of 32 Kbit/s and the mp3 codec is not particularly suited to that I apply a lowpass filter to the audio. Especially signals with high noise will sound bad without this setting as the codec tries to compress high frequency noise at which it usually fails.
If the icecast server runs local, darkice has to connect to localhost or 127.0.0.1. If it runs external, specify the correct IP address or hostname.
When everything works ok, you can optionally add the line:
darkice &
to /etc/rc.local . This automatically starts up the stream at boot and runs it in the background.
There are more tutorials on running Icecast and darkice on the RPi, see for example:
http://raspberry-pi.blogspot.nl/2013/02/church-broadcast-with-raspberry-pi.html
http://www.t3node.com/blog/live-streaming-mp3-audio-with-darkice-and-icecast2-on-raspberry-pi/
Update 27/3/2015:
It’s also possible to stream without compiling darkice, as shown in another article on this website. Using the tools arecord, lame and ezstream the same goal can be reached. Command:
sudo arecord -D hw:1,0 -f S16_LE -c1  -t raw --buffer-time=10000 \
| lame -r -s 44.1 --resample 11.025 -m m -b 32 - - | ezstream -c /etc/ezstream.xml
Configuration for ezstream:
<ezstream>
        <url>http://dynode.nl:8000/rpi-rtl_fm-test</url>
        <sourcepassword>xxxxxxxx</sourcepassword>
        <format>MP3</format>
        <filename>stdin</filename>
        <!--
         Important:
         For streaming from standard input, the default for continuous streaming
         is bad. Set <stream_once /> to 1 here to prevent ezstream from spinning
         endlessly when the input stream stops:
        -->
        <stream_once>1</stream_once>
        <!--
         The following settings are used to describe your stream to the server.
         It's up to you to make sure that the bitrate/quality/samplerate/channels
         information matches up with your input stream files.
        -->
        <svrinfoname>RPi rtl_fm test stream</svrinfoname>
        <svrinfourl>www.dynode.nl</svrinfourl>
        <svrinfogenre>hamradio</svrinfogenre>
        <svrinfodescription>RPi rtl_fm test stream</svrinfodescription>
        <svrinfobitrate>32</svrinfobitrate>
        <svrinfoquality>2.0</svrinfoquality>
        <svrinfochannels>1</svrinfochannels>
        <svrinfosamplerate>44100</svrinfosamplerate>
        <!-- Turn off YP directory advertising -->
        <svrinfopublic>0</svrinfopublic>
    </ezstream>